If you spend long hours in front of your computer, you have probably felt that eye strain that slowly creeps in after a while. Bright screens, especially at night, can be uncomfortable and even affect your sleep. That is where dark mode comes in. It is not just a visual upgrade, it is a practical feature that many users now rely on daily.
Whether you are working late, browsing casually, or simply want a cleaner look, enabling dark mode in Windows 10 and Windows 11 is one of the easiest ways to improve your overall experience. The good news is that Microsoft has made this feature simple to access, even if you are not very tech savvy.
In this guide, you will learn step by step how to enable dark mode, customize it to your liking, and fix common issues if it does not work as expected.
What is Dark Mode and Why Should You Use It
Dark mode changes the appearance of your system from light backgrounds to darker shades. Instead of bright white windows, you get black or dark gray tones that are easier on the eyes.
Here are a few real benefits you will notice:
- Less eye strain during long usage
- Better visibility in low light environments
- Improved battery life on laptops with OLED screens
- A more modern and sleek interface
Many users switch to dark mode once and never go back. It feels calmer and less distracting, especially during nighttime work sessions.
How to Enable Dark Mode in Windows 10
If you are using Windows 10, follow these simple steps:
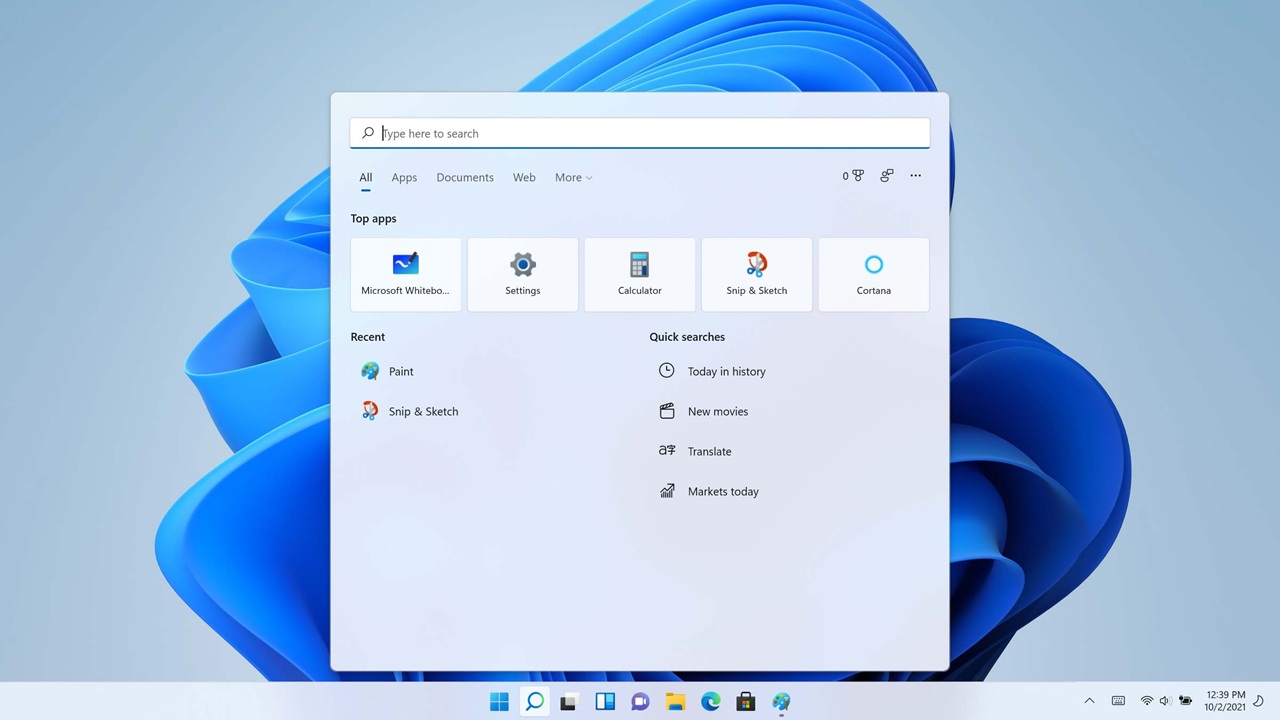
Step 1: Open Settings
Click on the Start menu and select Settings. You can also press Windows key + I to open it quickly.
Step 2: Go to Personalization
Inside Settings, click on Personalization. This is where all theme related options are located.
Step 3: Select Colors
From the left sidebar, click on Colors.
Step 4: Choose Dark Mode
Scroll down until you see the option Choose your color. Click the dropdown menu and select Dark.
As soon as you select it, you will notice the change instantly. The taskbar, Start menu, and system apps will switch to dark mode.
How to Enable Dark Mode in Windows 11
Windows 11 has a slightly redesigned interface, but the process is still simple.
Step 1: Open Settings
Right click on the Start button and select Settings.
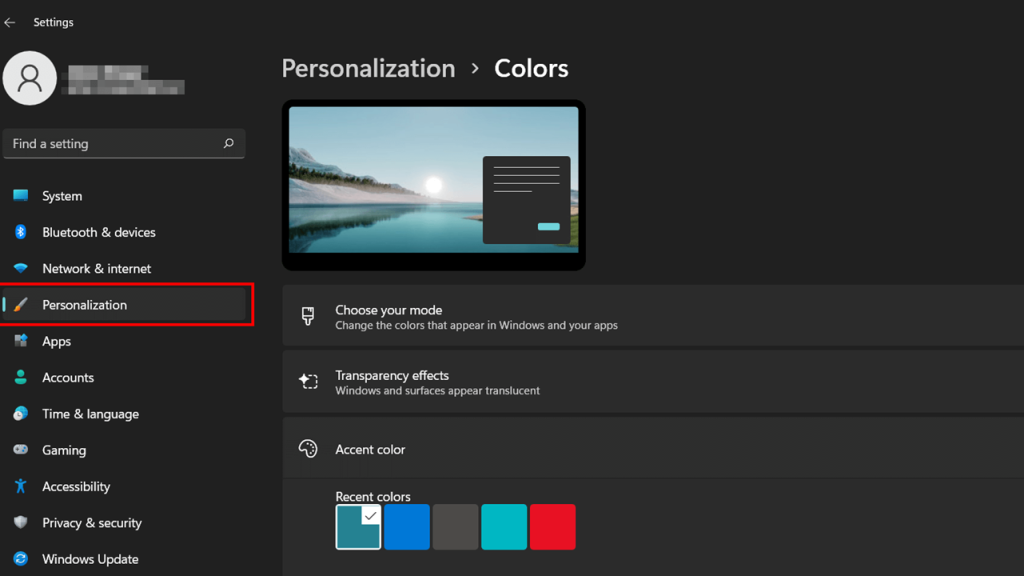
Step 2: Navigate to Personalization
Click on Personalization from the left side menu.
Step 3: Click on Colors
Inside Personalization, select Colors.
Step 4: Set Your Mode to Dark
Find the option Choose your mode and select Dark.
Windows 11 will immediately apply the dark theme across the system.
Customize Dark Mode for a Better Experience
Enabling dark mode is just the beginning. Windows allows you to tweak it further to match your style.
Use Custom Mode
Instead of fully dark mode, you can select Custom. This allows you to mix dark and light settings.
For example:
- Set Windows mode to dark
- Keep apps in light mode
This is useful if you prefer readability in certain apps but still want a dark system interface.
Accent Colors
You can also choose an accent color that highlights buttons, menus, and links. Dark mode looks even better when paired with a subtle accent like blue or teal.
Transparency Effects
Turning on transparency effects adds a slight blur and depth to your interface. It works well with dark themes and gives a more polished feel.
Enable Dark Mode in Apps and Browser
Even after enabling system wide dark mode, some apps may still appear in light mode.
Microsoft Edge
- Open Edge
- Go to Settings
- Click Appearance
- Select Dark
Google Chrome
Chrome follows system settings, but you can also install a dark theme from the Chrome Web Store for a deeper look.
File Explorer
In newer updates, File Explorer automatically switches to dark mode. If not, make sure your system theme is correctly set.
Schedule Dark Mode Automatically
If you do not want to switch manually every day, you can automate dark mode using third party tools or built in features.
Night Light
While not exactly dark mode, Night Light reduces blue light during evening hours and works well alongside dark mode.
Task Scheduler
Advanced users can use Task Scheduler to switch between light and dark themes based on time.
There are also lightweight apps available that can handle this automatically without much setup.
Common Problems and How to Fix Them
Sometimes dark mode may not work properly. Here are a few quick fixes:
Dark Mode Not Applying
Restart your computer after changing the setting. This often solves the issue.
Apps Still in Light Mode
Some older apps do not support dark mode. Check the app settings individually.
File Explorer Not Changing
Make sure your Windows is updated to the latest version. Older versions may not fully support dark mode.
Contrast Issues
If text is hard to read, try adjusting contrast settings or switching to a different theme variation.
Tips for the Best Dark Mode Experience
- Use a moderate brightness level to avoid eye fatigue
- Combine dark mode with Night Light for nighttime use
- Choose a clean wallpaper that matches dark tones
- Keep your system updated for improved compatibility
A small tweak like dark mode can significantly improve how comfortable your screen feels throughout the day.
Final Thoughts
Enabling dark mode in Windows 12 Iso and 11 is more than just a design choice. It is a simple way to make your daily computer usage more comfortable and visually appealing. Once you get used to it, going back to the bright default theme feels almost uncomfortable.
The steps are quick, the customization options are flexible, and the benefits are noticeable from the first use. Whether you are a student, professional, or casual user, dark mode is worth trying.
Take a minute to enable it, adjust a few settings, and see how it changes your experience. Sometimes, the smallest changes make the biggest difference.